For the last month or so, I’ve been working on a couple of projects that have required me to move files in and out of HDFS. It’s pretty straightforward once you get the appropriate tools working, but it can be a bit counterintuitive to get started (at least it was when I was learning it). Here’s how you get started:
Install your tools
In this tutorial, we are working with Cloudera 5.5.1, using an Ubuntu (Trusty Tahr) instance to connect to it. First, we need to add Cloudera’s repo to apt:
$ wget http://archive.cloudera.com/cdh5/one-click-install/trusty/amd64/cdh5-repository_1.0_all.deb
$ sudo dpkg -i cdh5-repository_1.0_all.deb
$ sudo apt-get update
Since I use both the hdfs command and FUSE, I just install FUSE, which installs both tools.
$ sudo apt-get install hadoop-hdfs-fuse
One prerequisite that apt fails to install is Java. If you try running the hdfs command, you’ll get the following error:
Error: JAVA_HOME is not set and could not be found.
Let’s put Java on there:
sudo apt-get install openjdk-7-jre
Set up your config
One little quirk about working with the Hadoop command-line tools is you need to use local config files – so you can’t just provide the URL to your nameserver and just connect. One exception to this rule is a Go – based library/client written by Colin Marc called (drumroll please…) HDFS.
In Cloudera, you can get the config through the CDH Manager UI:
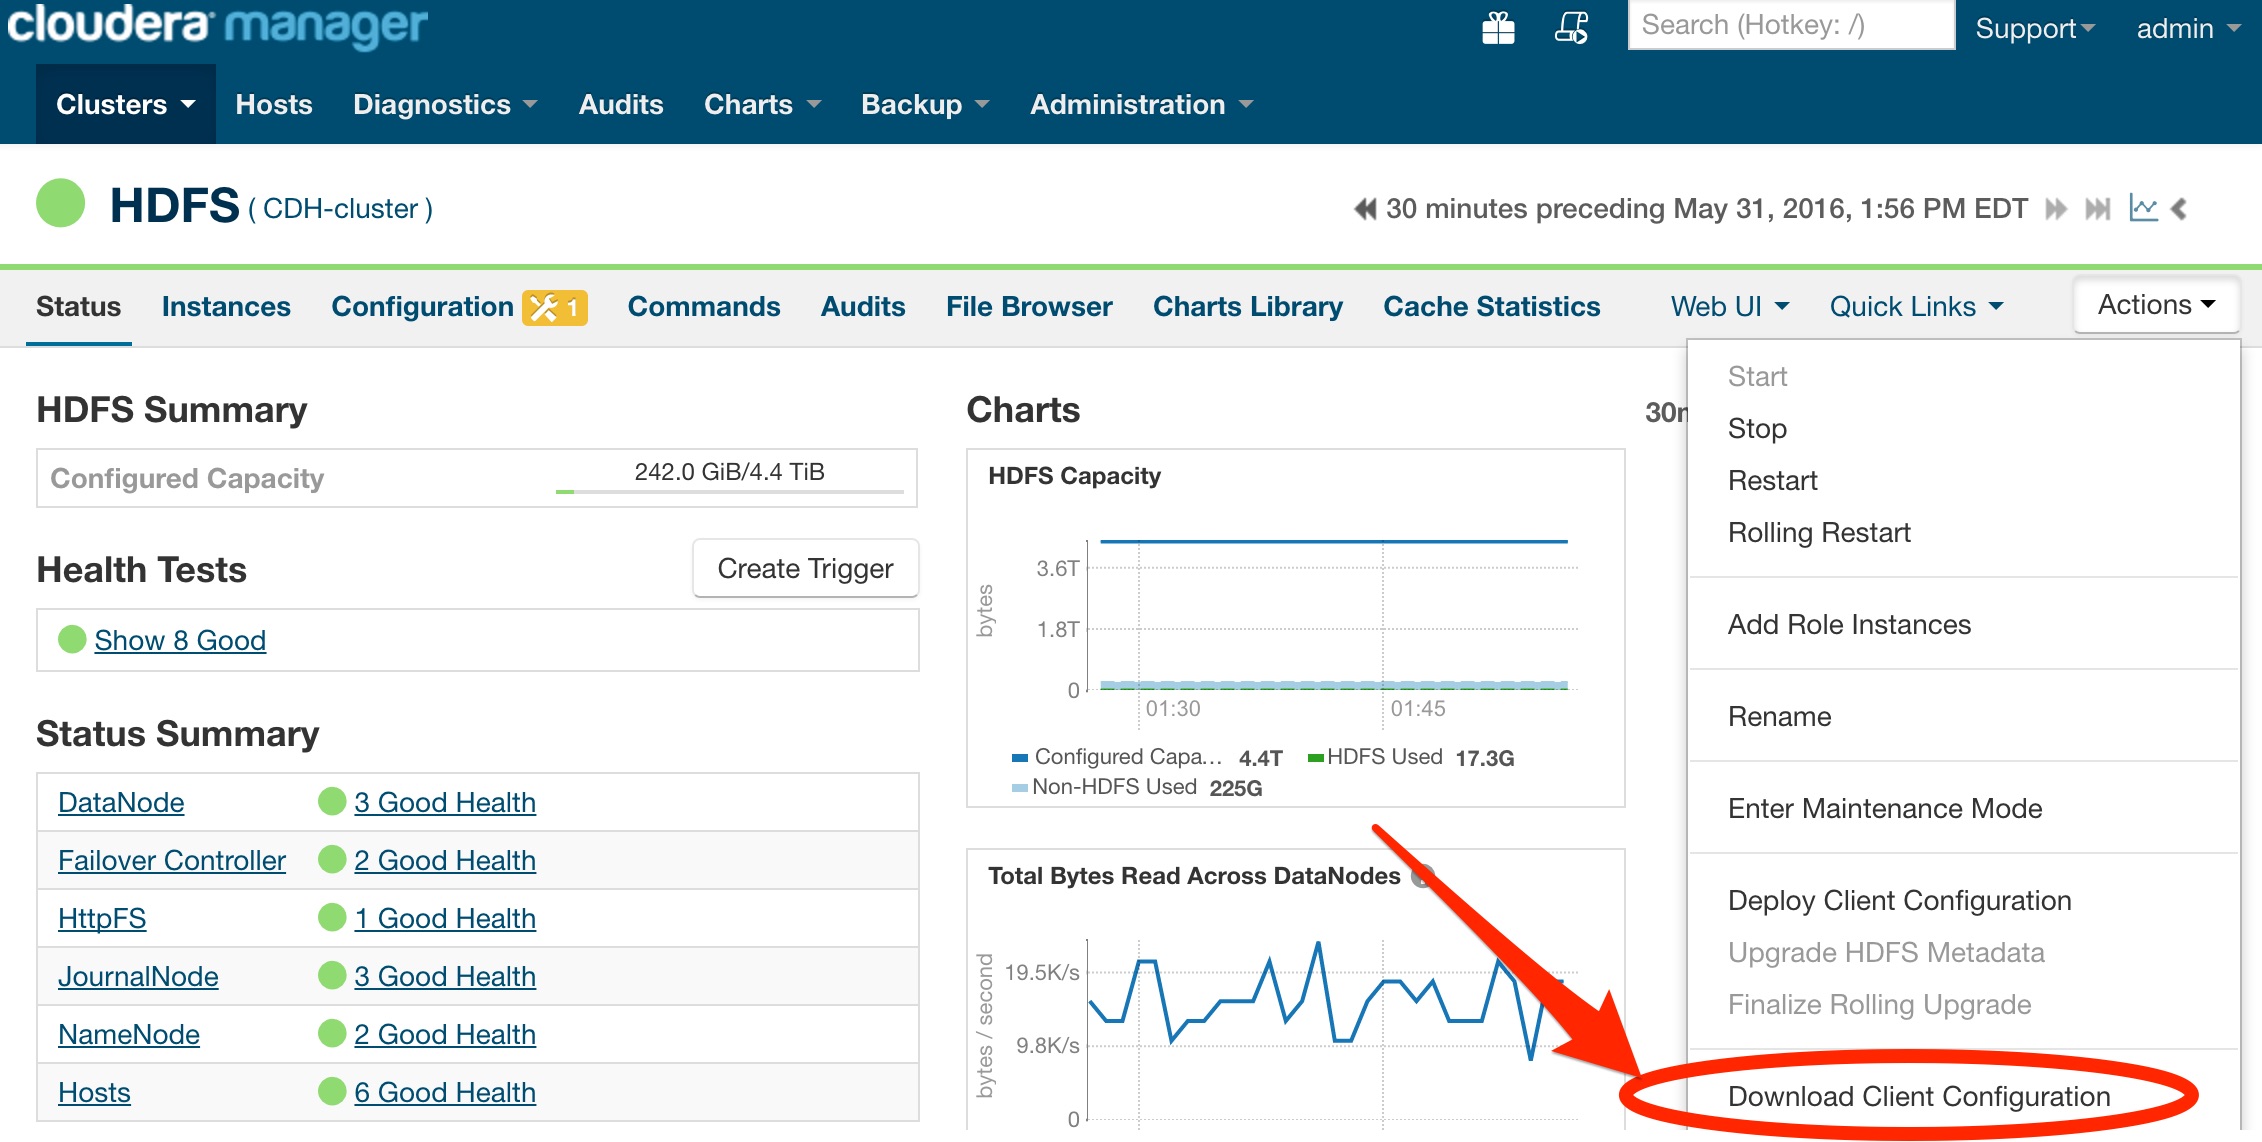
Once you download this zip file, put its contents into a subfolder of /etc/hadoop as follows:
$ sudo unzip hdfs-clientconfig.zip -d /etc/hadoop
Archive:  hdfs-clientconfig.zip
  inflating: /etc/hadoop/hadoop-conf/hdfs-site.xml
  inflating: /etc/hadoop/hadoop-conf/core-site.xml
  inflating: /etc/hadoop/hadoop-conf/topology.map
  inflating: /etc/hadoop/hadoop-conf/topology.py
  inflating: /etc/hadoop/hadoop-conf/log4j.properties
  inflating: /etc/hadoop/hadoop-conf/ssl-client.xml
  inflating: /etc/hadoop/hadoop-conf/hadoop-env.sh
$ sudo mv /etc/hadoop/hadoop-conf /etc/hadoop/conf.cloudera.HDFS
For the HDFS tools to use your configuration, the HADOOP_CONF_DIR environment variable needs to be set. This can simply be added to your favorite shell profile config:
export HADOOP_CONF_DIR="/etc/hadoop/conf.cloudera.HDFS"
Name Resolution
Now that you have your configuration in the right place, make sure you can actually resolve the names it uses. For this to happen in Cloudera, ensure that one of your Consul DNS servers is listed before your externally resolving DNS server.
nameserver 10.10.10.250 <-- this would be consul
nameserver 10.10.0.2 <-- this is your default DNS server
Try a ping:
$ ping cdh-master-0.node.myclouderacluster.consul
PING cdh-master-0.node.myclouderacluster.consul (10.10.10.70) 56(84) bytes of data.
64 bytes from cdh-master-0.node.myclouderacluster.consul (10.10.10.70): icmp_seq=1 ttl=64 time=1.25 ms
64 bytes from cdh-master-0.node.myclouderacluster.consul (10.10.10.70): icmp_seq=2 ttl=64 time=0.899 ms
Try the HDFS client
To make sure your configuration works, lets use the hdfs command to list our top-level directories:
$ hdfs dfs -ls /
Found 4 items
drwxr-xr-x   - hbase  hbase               0 2016-05-03 23:23 /hbase
drwxr-xr-x   - cf     stark               0 2016-05-03 16:16 /org
drwxrwxrwx   - hdfs   supergroup          0 2016-05-24 00:12 /tmp
drwxr-xr-x   - mapred supergroup          0 2016-05-06 00:07 /user
NOTE: If something is wrong, you will either get errors, OR the command will simply return the results of ls in your current working directory.
From here, you can simply read the help for the hdfs command. Most operations are pretty simple.
Try FUSE
For the next level, let’s try mounting HDFS as a usable filesystem. To do this, first create a mountpoint:
$ sudo mkdir -p /hdfs
If you set up everything correctly for the hdfs command as above, you should be able to mount and use your HDFS filesystem like this:
$ sudo hadoop-fuse-dfs dfs://cdh-master-0.node.myclouderacluster.consul:8020 /hdfs
$ ls -Alh /hdfs
total 16K
drwxr-xr-x 10     99 99 4.0K May  3 23:23 hbase
drwxr-xr-x  3     99 99 4.0K May  3 16:16 org
drwxrwxrwx  6 hdfs   99 4.0K May 24 00:12 tmp
drwxr-xr-x 11 mapred 99 4.0K May  6 00:07 user
A Note About Permissions (Security by Obscurity!)
HDFS permissions, by default, are very liberal. As you browse the tree structure, you may notice that you do not have access to get to certain files:
$ ls /hdfs/org/some/restricted/folder
ls: cannot open directory /hdfs/org/some/restricted/folder: Permission denied
The fix? Create a user with the same name as the folder’s owner:
$ sudo useradd -m theboss
$ sudo su - theboss -l
$ ls /hdfs/org/some/restricted/folder
resumes
salaries
torrents
This may or may not work for you – typically, if security for HDFS is desired, then one would enable Kereberos for this environment.
Does it actually work?
To ensure that this does work before handing it off to a customer to upload their gargantuan files, I’d suggest trying to upload a large-ish file and see if the checksums before and after upload match:
$ openssl dgst -sha256 big-file.csv
SHA256(big-file.csv)= 646a45f3caed89d7303ae9240c0c3e45e9188e55cf8e65bda8980daa9855be3e
$ cp big-file.csv /hdfs
$ openssl dgst -sha256 /hdfs/big-file.csv
SHA256(big-file.csv)= 646a45f3caed89d7303ae9240c0c3e45e9188e55cf8e65bda8980daa9855be3e
That’s it. At this point, you can now interact with HDFS as you would any other linux filesystem.

Spread the word