This guest post is brought to you by Naveed Ahmad and Pururva Lakkad from our Summer 2019 Internship program.
We are interning here at Stark & Wayne for the summer. As mentioned earlier at the blog, we had to choose one project out of the four amazing ones. As a team, we’ve decided to work on building SHIELD etcd Data protection plugin. This project has a lot of bits and pieces, which we are trying to figure out; one thing at a time. The first part was to figure out how SHIELD works. We have worked on getting SHIELD up and running via Docker compose. This is the easiest and most convenient way to get started with SHIELD.
In this blog today, we will walk you through the process of getting it up and running on your own machine. There are numerous ways in which you can download Docker and setup stuff. We are mentioning the links below to get this working for a minimal setup.
We recommend using Docker Desktop which you can get from:
Follow the steps below once you have Docker running on your machine.
mkdir ~/shield-democd ~/shield-demo
curl -sLO https://raw.githubusercontent.com/starkandwayne/shield/v8.2.1/docker-compose.yml
docker-compose up -d
And you’re done. SHIELD is now up and running on your own machine. You can do a docker ps OR docker-compose ps to see the containers in action

There’s one awesome feature that the brainiacs at Stark & Wayne have bundled with the release. It’s called the SHIELD Demo App. You can access it at: http://127.0.0.1:9008
If you see the webpage shown above, it means you’re good to go. We can start working on SHIELD now. You can interact with SHIELD via the Web UI or the CLI. SHIELD’s UI can be accessed at http://127.0.0.1:9009
You can also use SHIELD CLI to interact with your environment. There are multiple options to get it. They are listed as follows:
- For macOS, you can install it via brew. First tap the formula repo:
brew tap starkandwayne/cf. After that, Install SHIELD CLI via:brew install starkandwayne/cf/shield. - You can also get it via one of our releases
https://github.com/starkandwayne/shield/releases/ - Starting from SHIELD v8.1.0, CLI comes bundled with the Web UI as well, for both macOS (Darwin) and Linux.
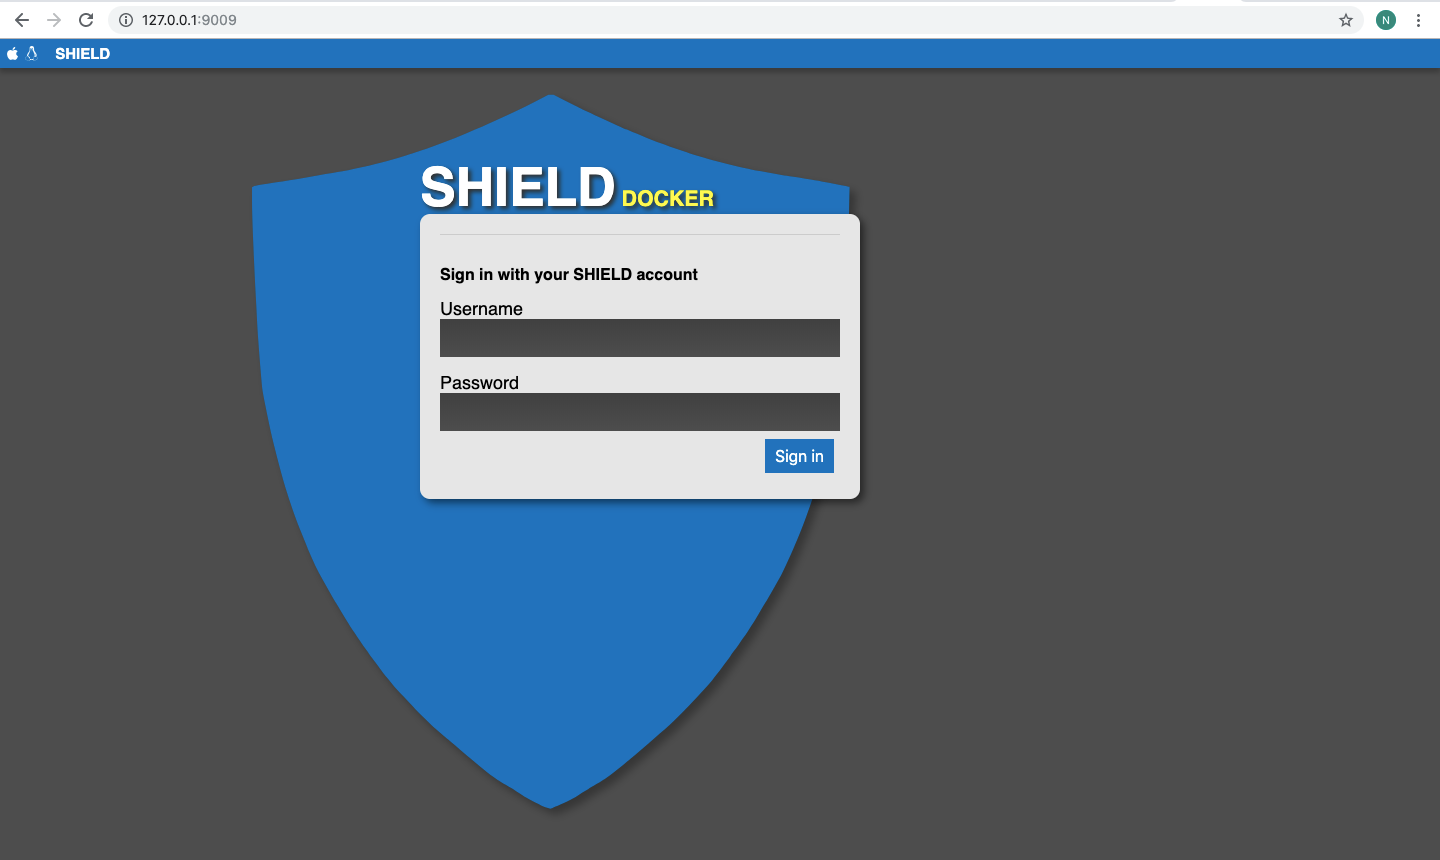
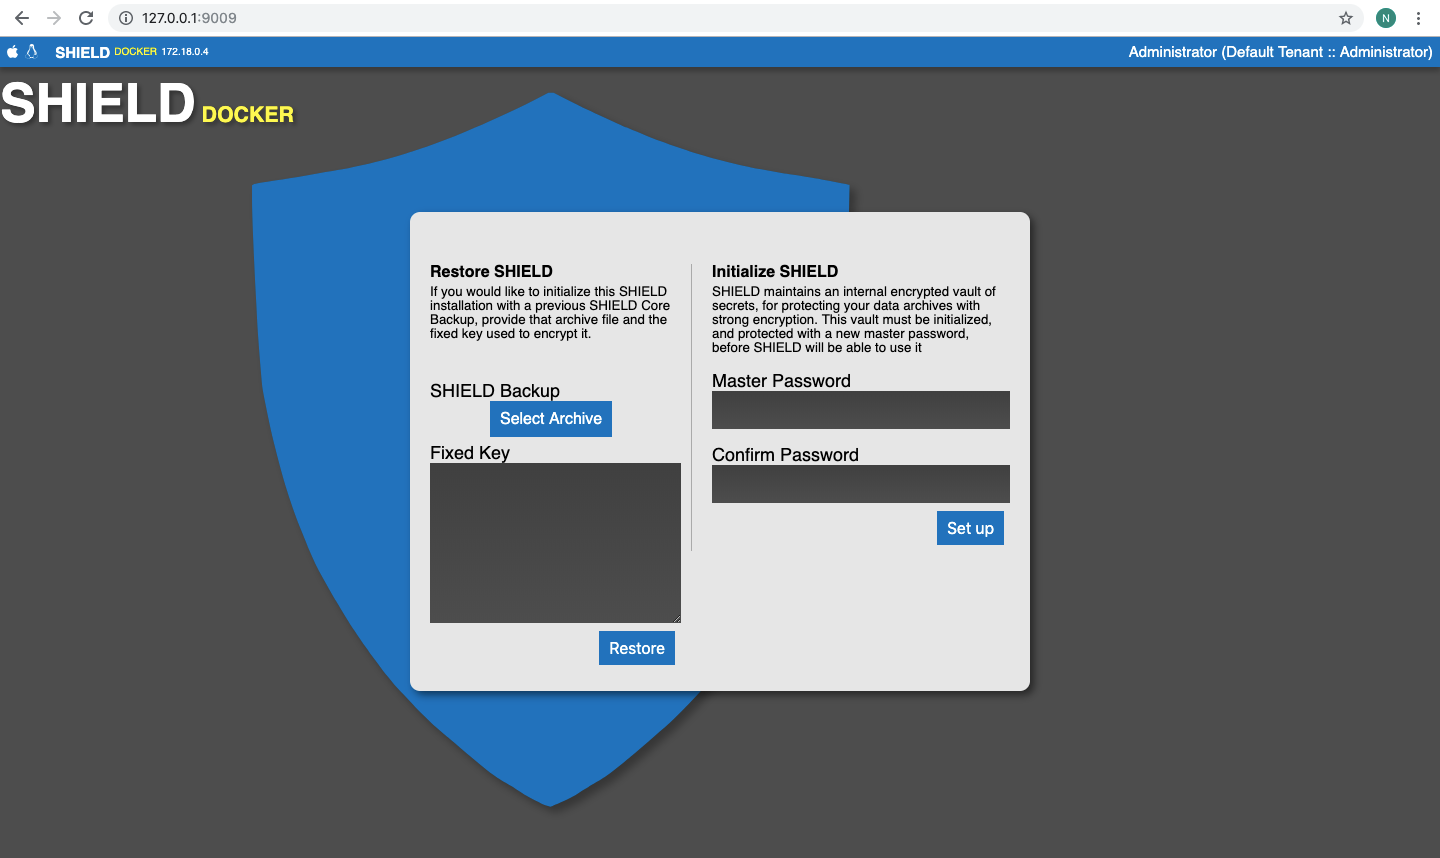
Let’s configure SHIELD via the Web UI. For the SHIELD Docker build, default username is “admin” and password is “password”. When you login for the first time, SHIELD will ask you to set a master password. This is necessary because SHIELD maintains an internal encrypted vault of secrets, for protecting your data archives with strong encryption. This vault must be initialized, and protected with a new master password, before SHIELD will be able to use it.
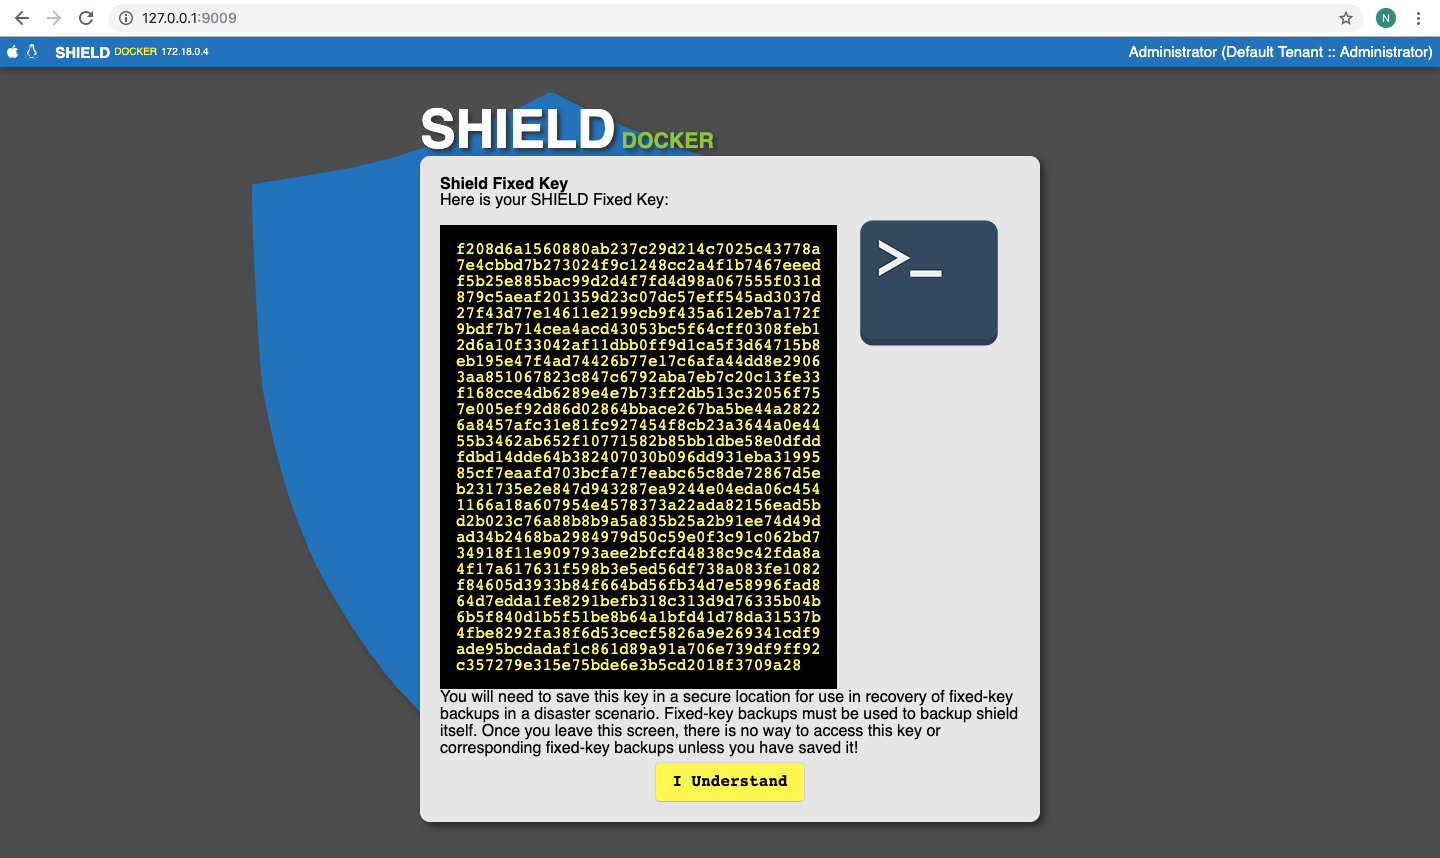
Once you set the master password, you’ll see a long randomized fixed key which can be used to recover SHIELD in a mayday scenario. Be sure to copy it into your password manager. There’s no way to access it once you leave this screen. Once you click on that “I Understand” button, you’ll be taken to the homepage.
This is how the SHIELD homepage looks like:
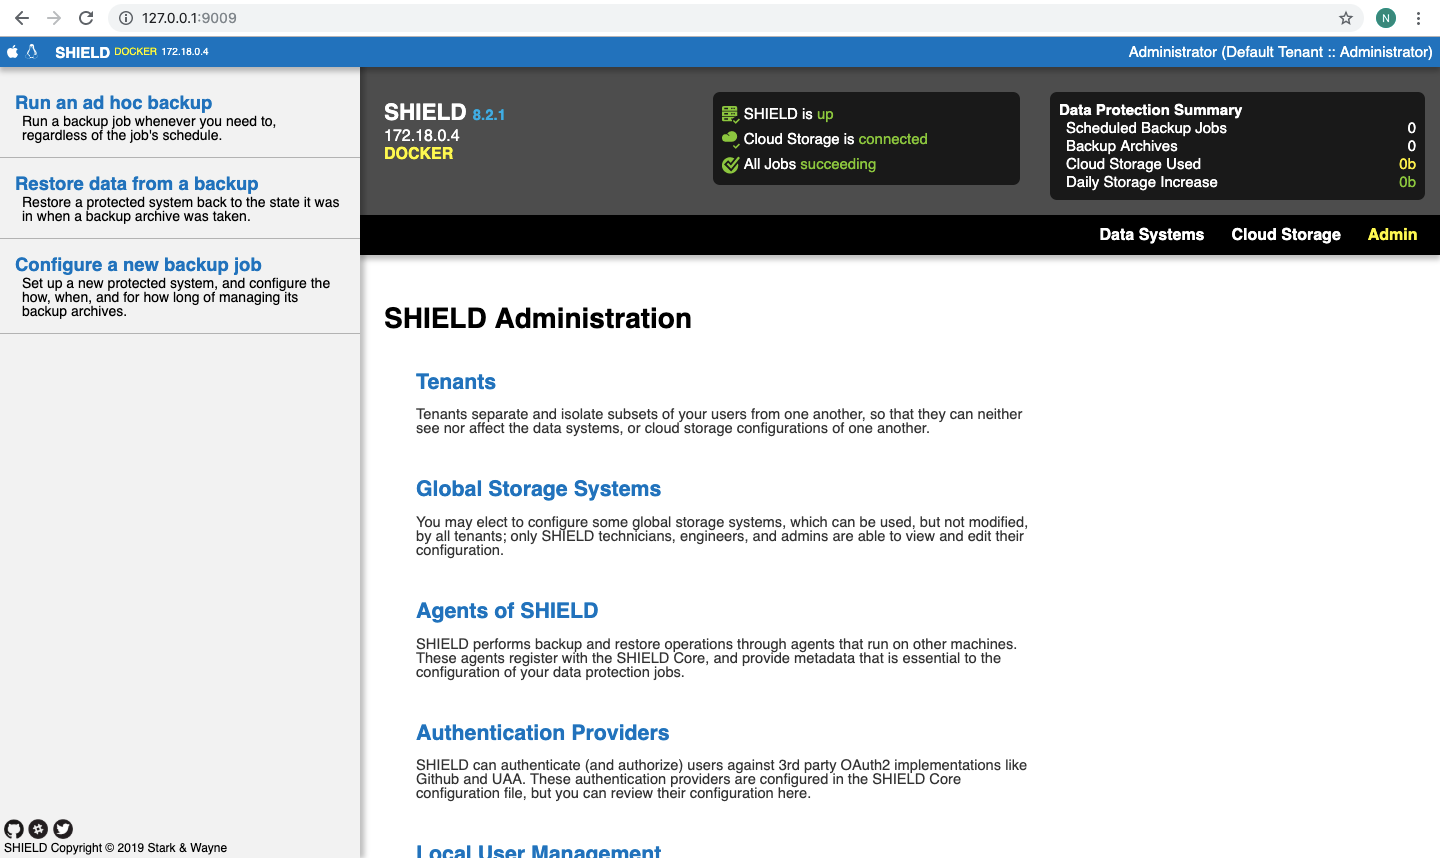
Bravo! You’ve made it so far. We will now walk you through your first backup job.
Your First Backup Job
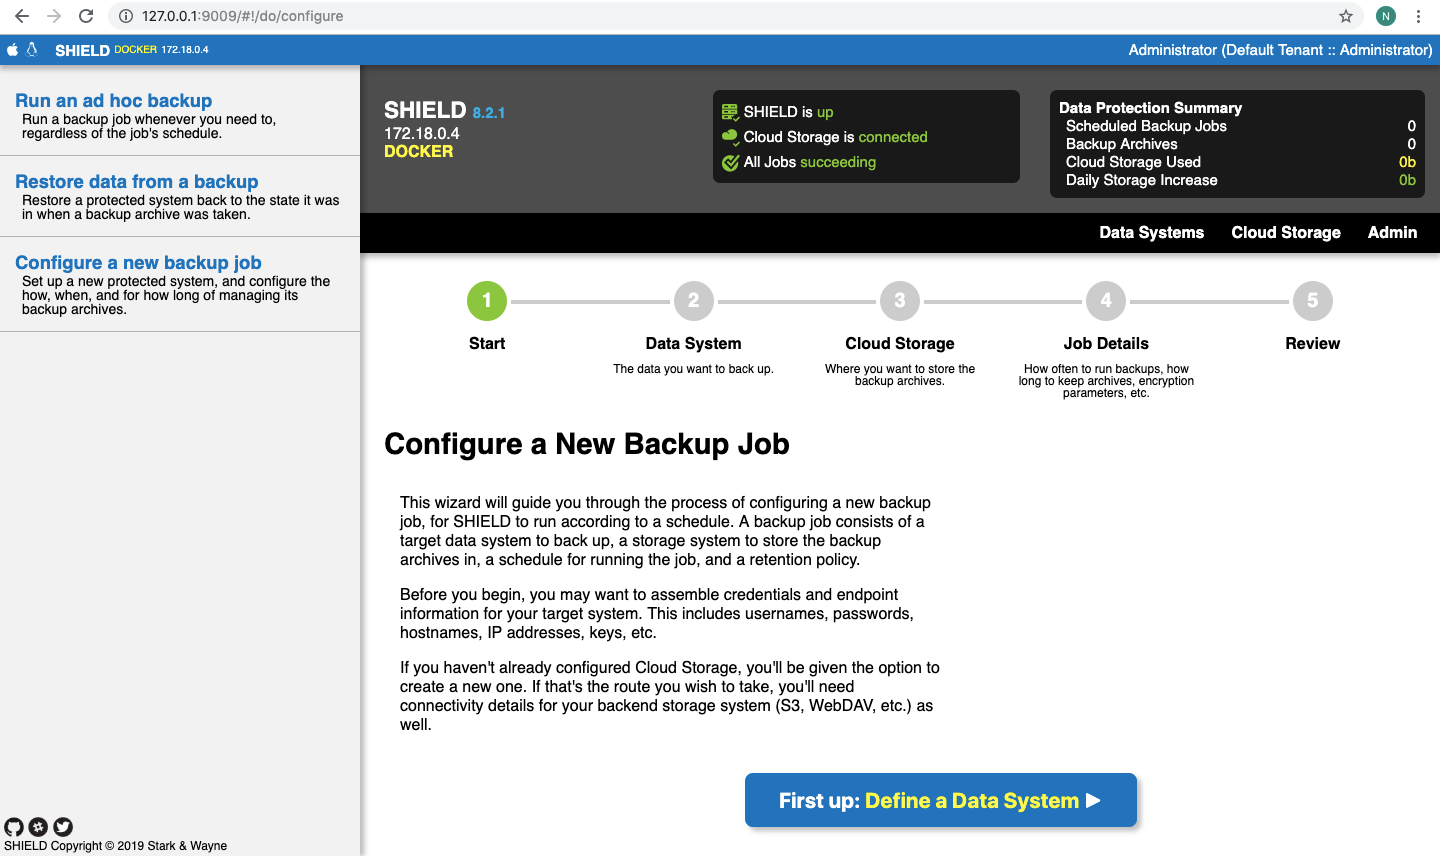
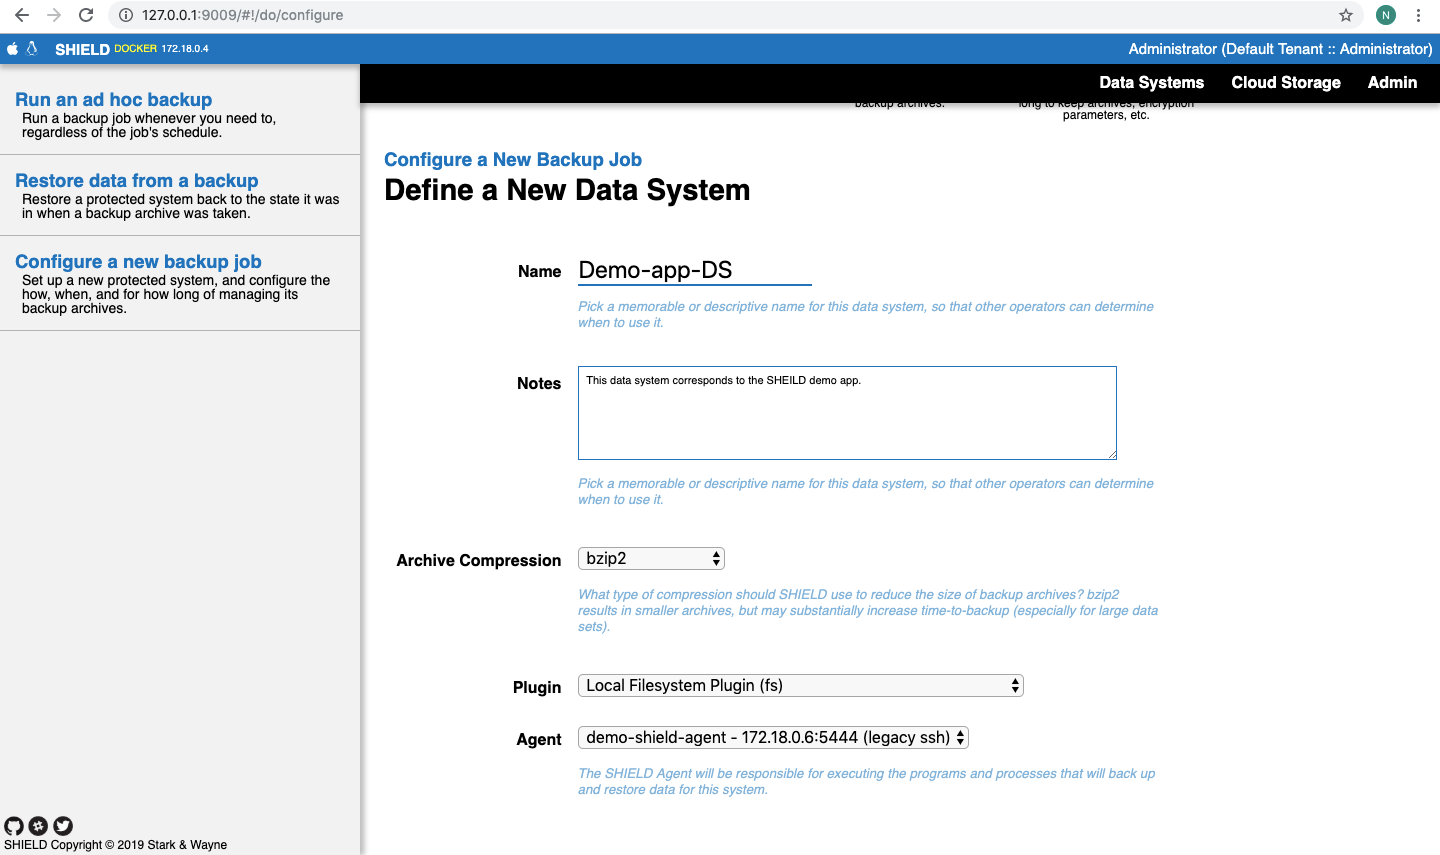
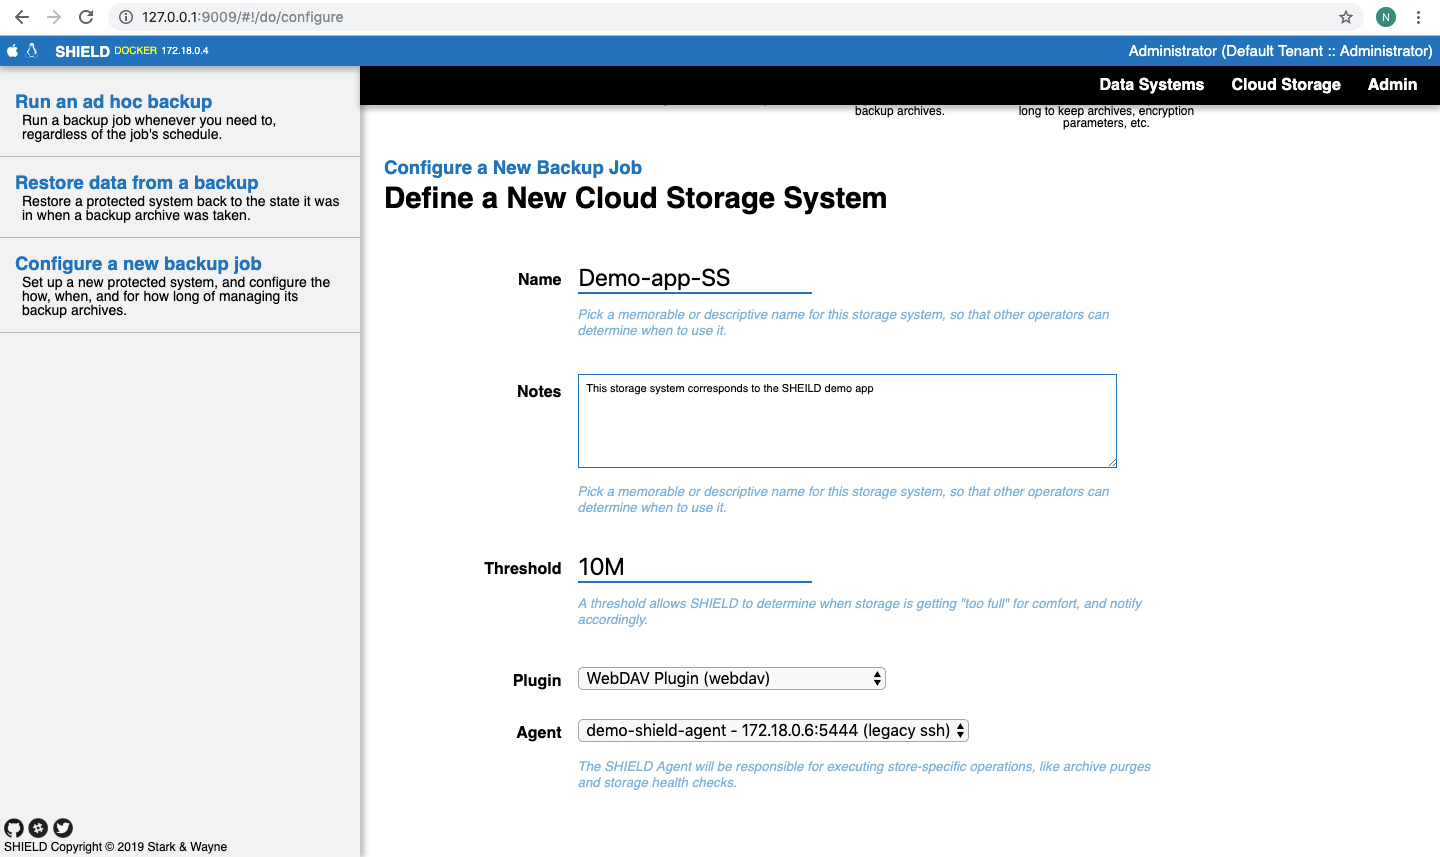
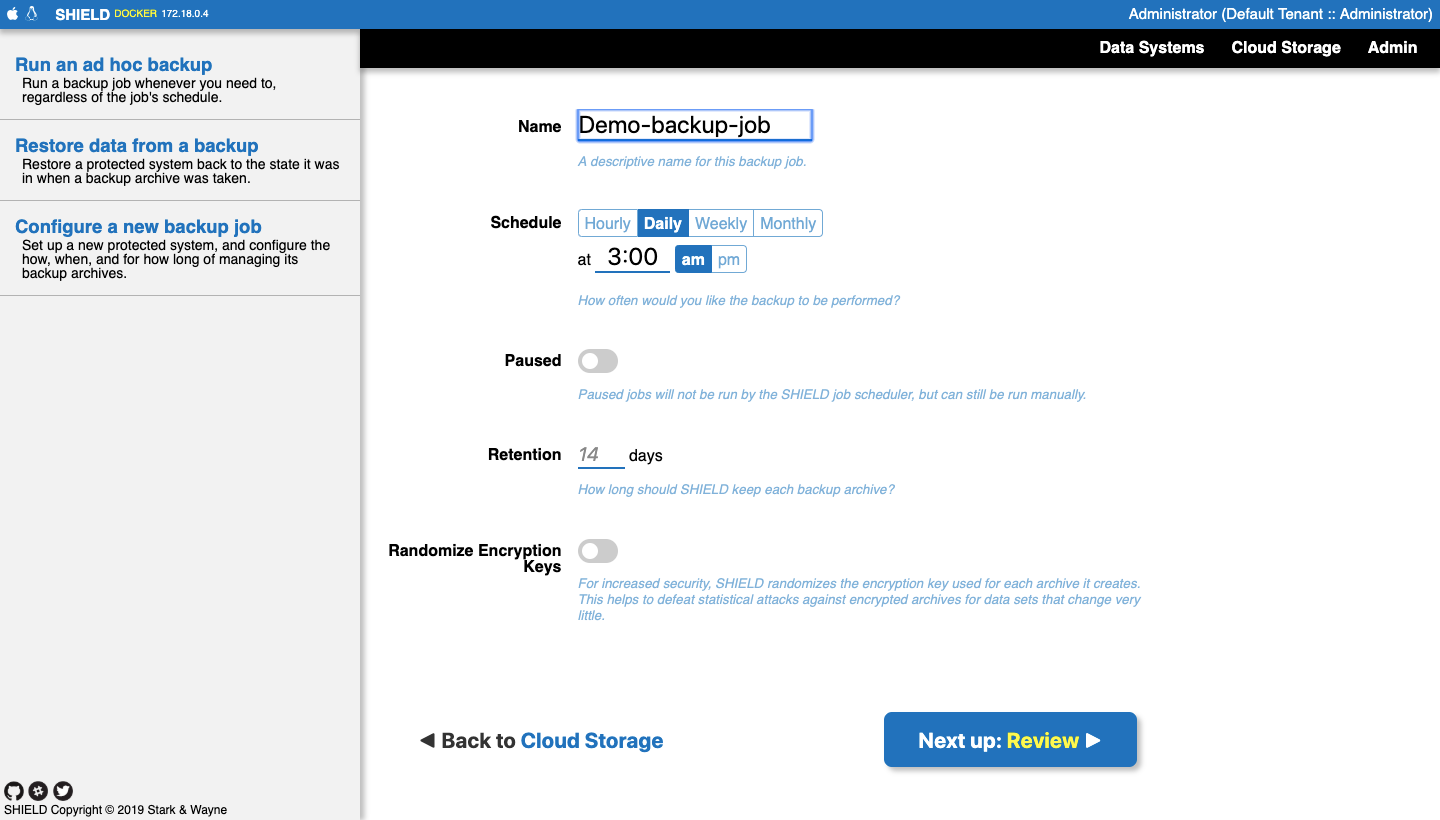
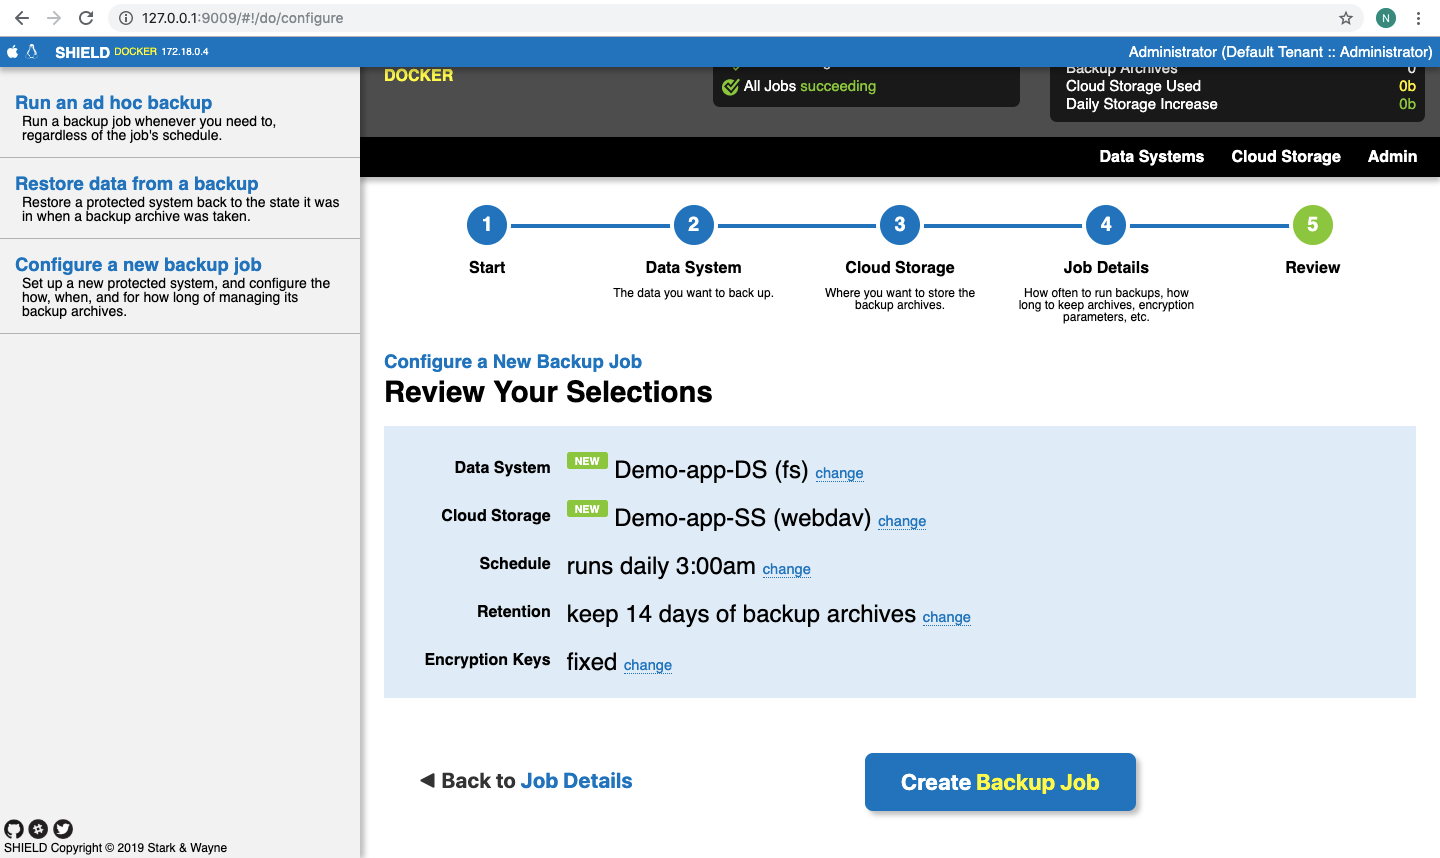
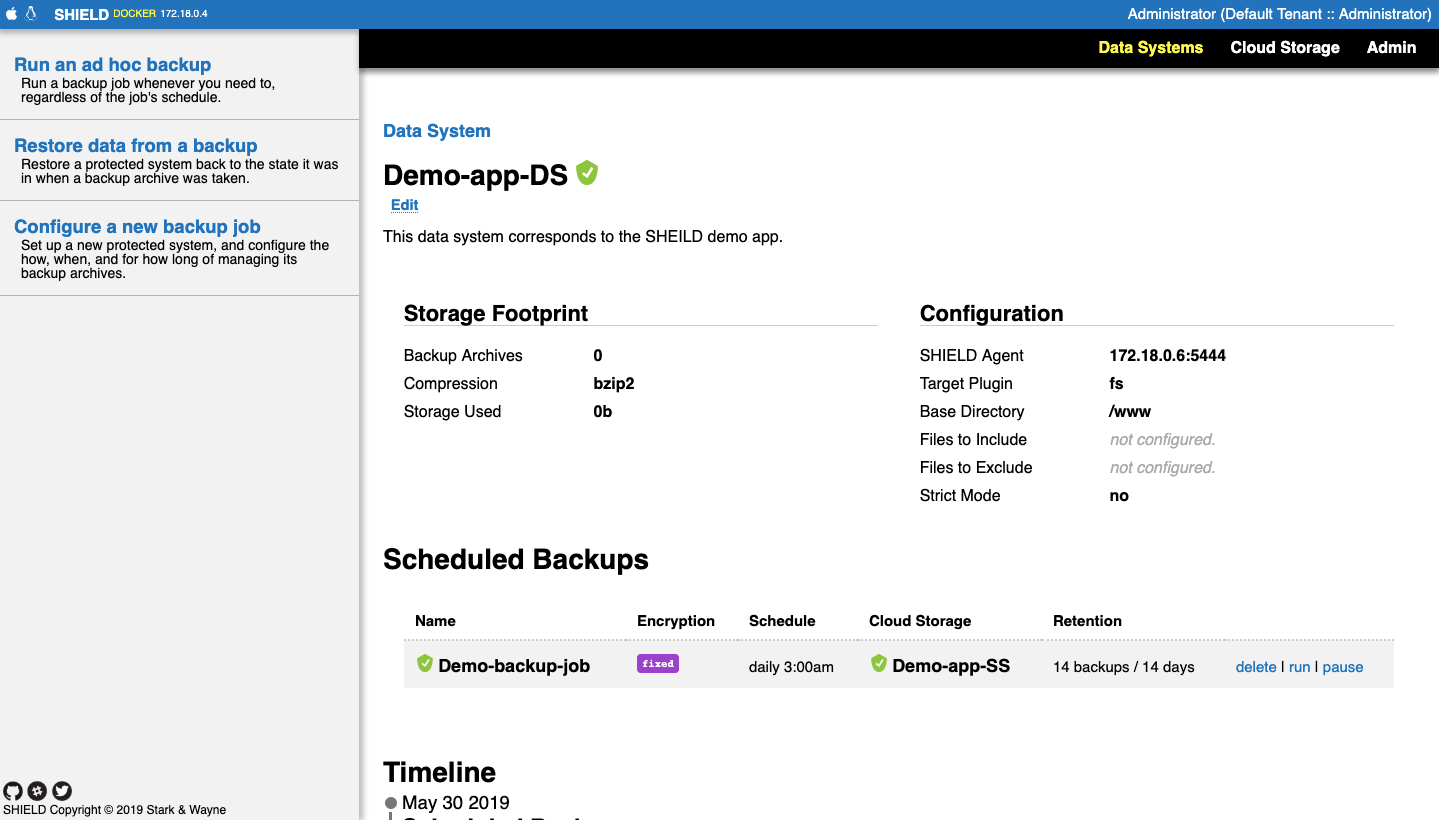
This portion will guide you through your first backup job. We will backup the SHIELD demo app that comes bundled with the release. You have to click on “Configure a new backup job” in the left pane to get started with the wizard. Please follow the steps as shown in the screenshots.
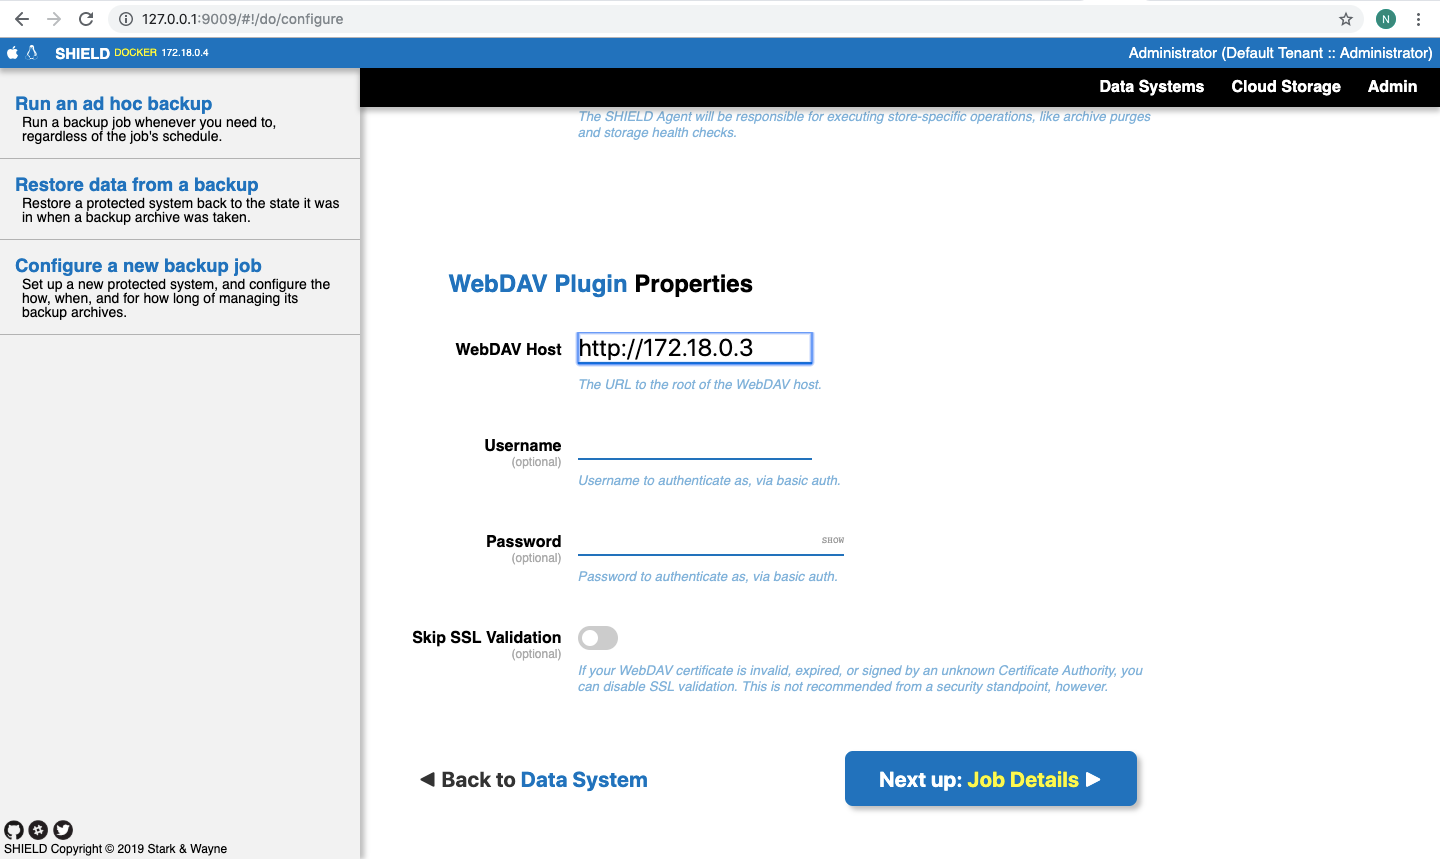
Before we move further, we need to know the IP address of the container on which WebDav is hosted. You can either use http://127.0.0.1:9007 or http://WedDavIP. There’s a pretty neat trick to get the IP address of a running container. You can use the following command to do that:docker inspect -f '{{range .NetworkSettings.Networks}}{{.IPAddress}}{{end}}' shield-demo_webdav_1

If you see green indicators here, this means you’re doing great. You have successfully done your first backup via SHIELD. Meanwhile, you can also access WebDav to check if the backup was done correctly. You can access WebDav via http://127.0.0.1:9007:

Restoring from your Backup archive
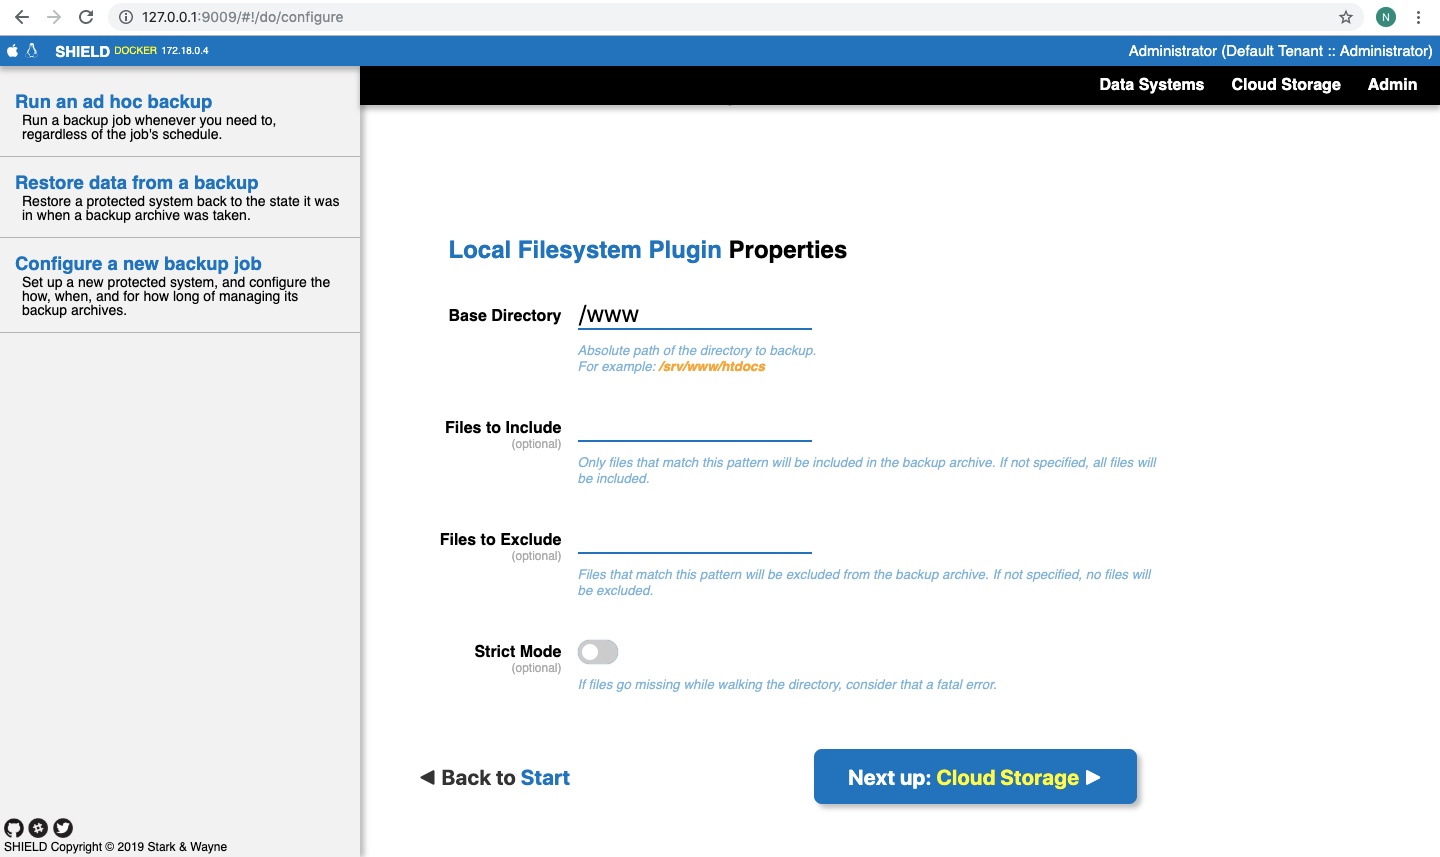
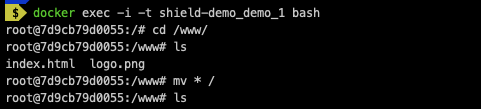
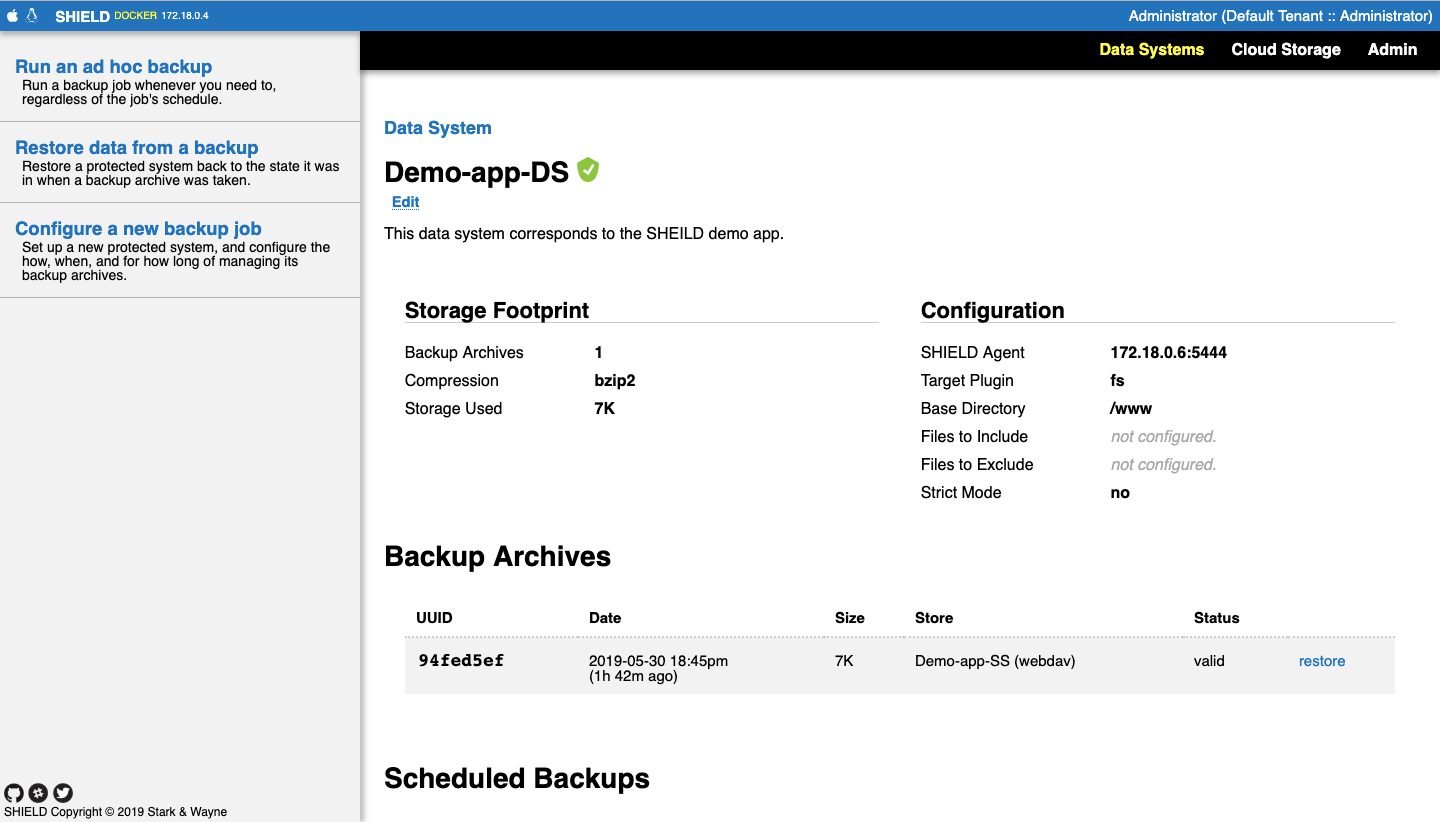
Let’s walk you through on how to restore from your backup. If you recall, we backed up the /www directory on our Demo Web app. Let’s move files from this directory and then repopulate it using the backup that we did.
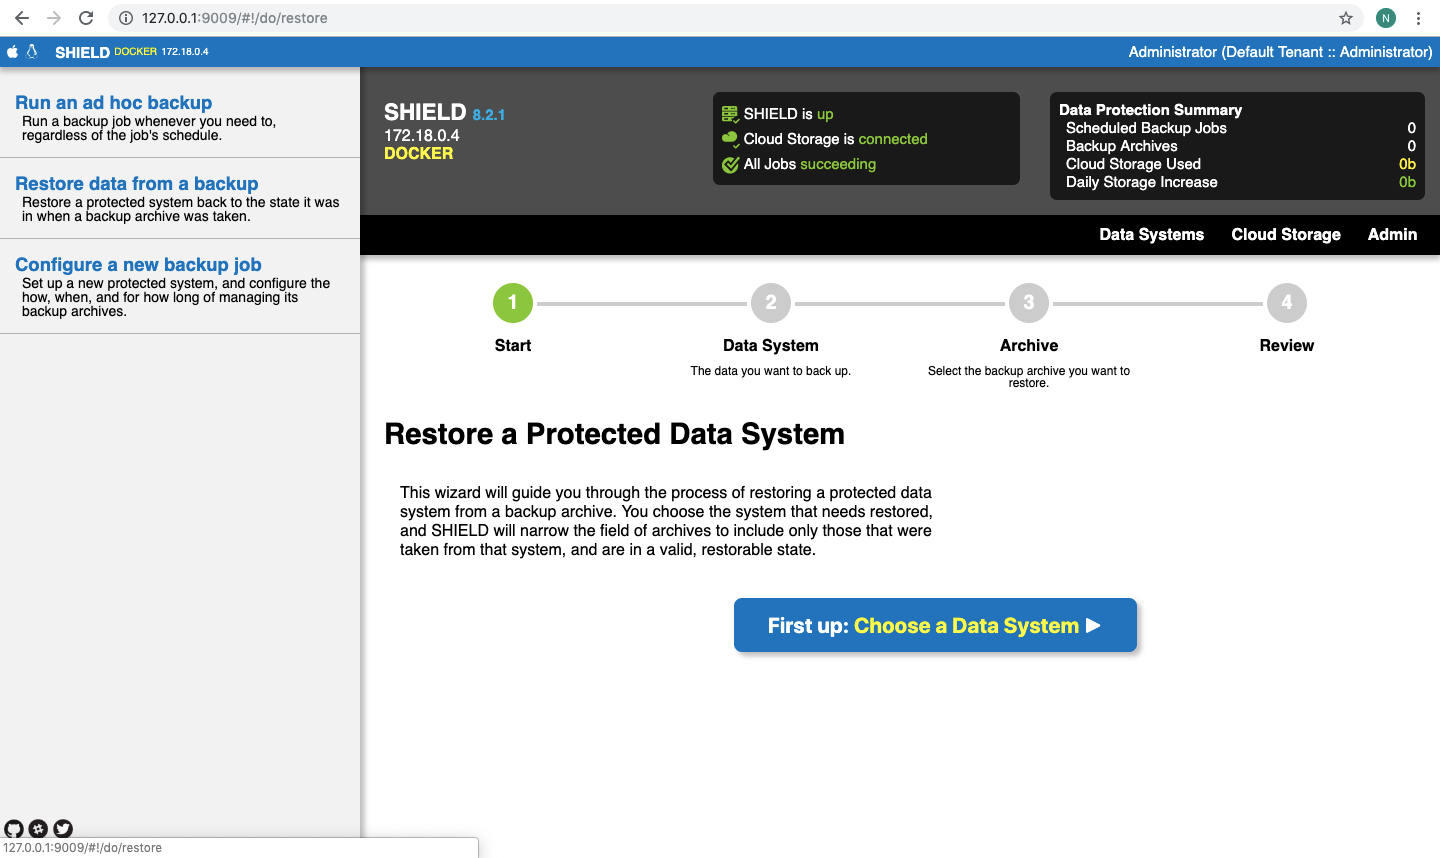
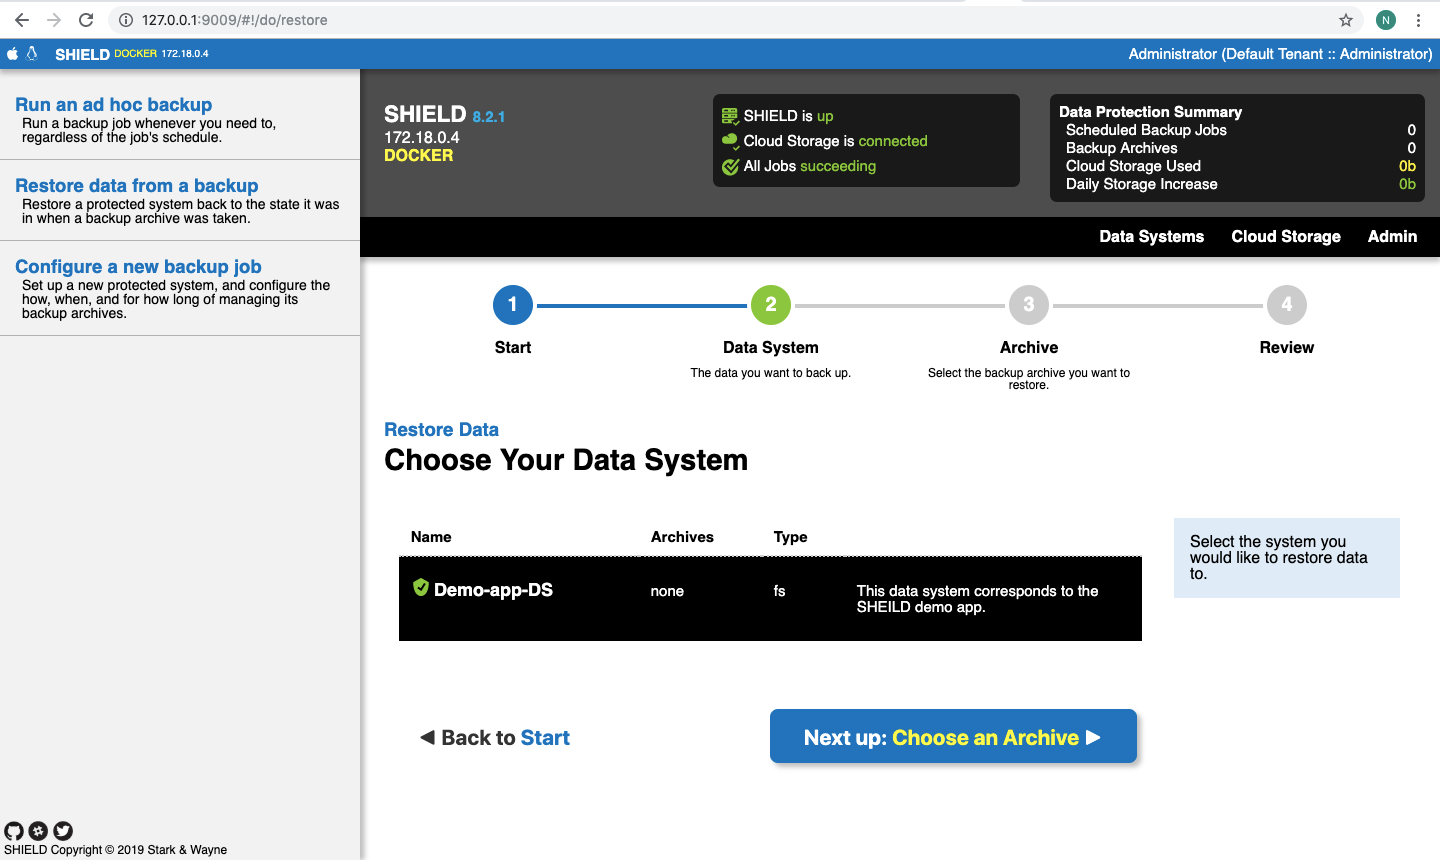
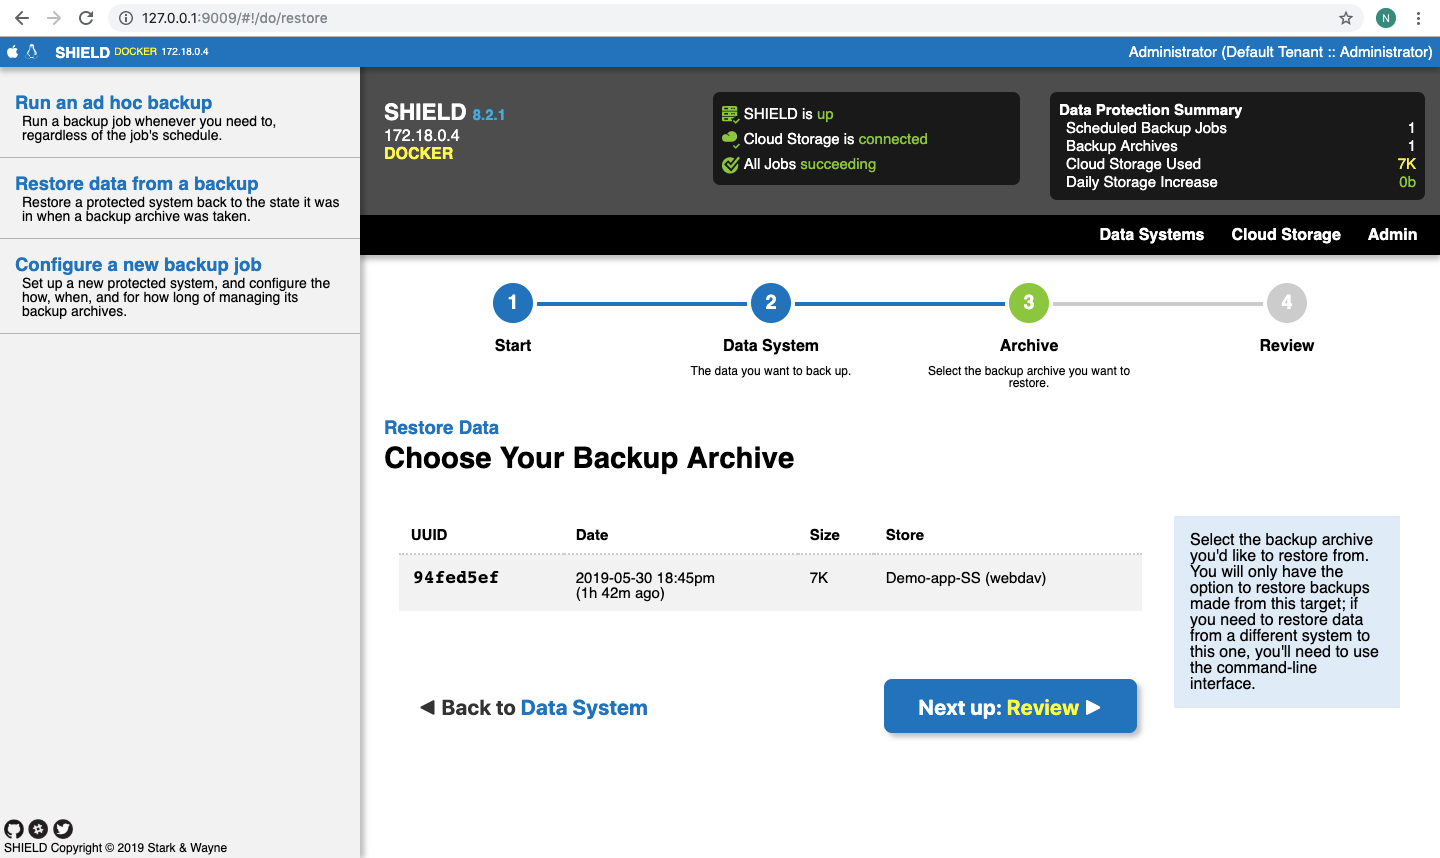
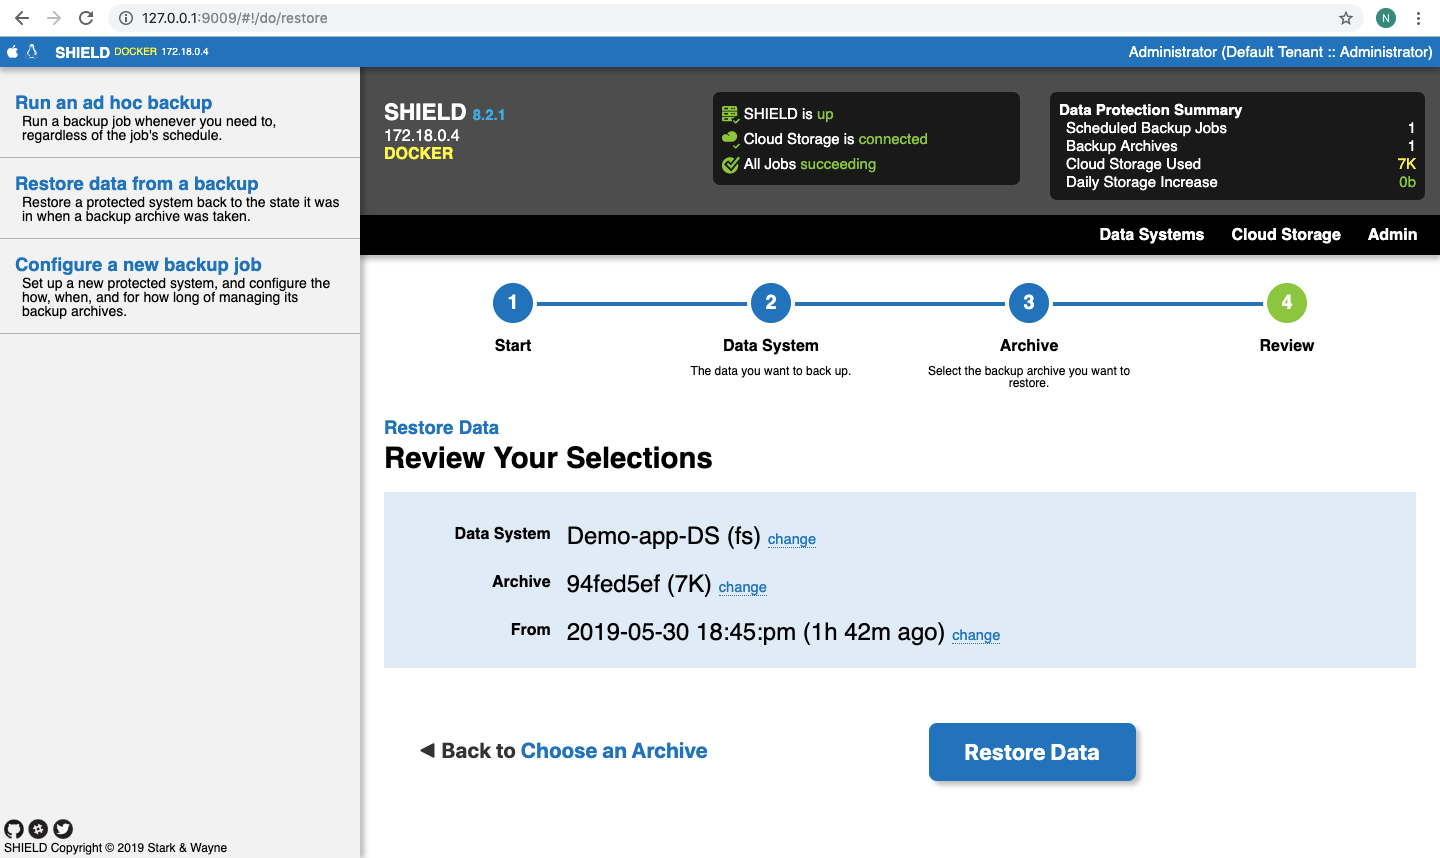
Now, as we have moved the files out of our way, let’s go ahead and run our restore routine. You have to click on “Restore data from a backup” from the left pane.
Let’s verify via logging into our demo app’s container and check if the files have reappeared magically!

Next Steps
Congratulations if you’ve made it so far. This would have been an exhausting process. Give yourself a pat on the back!. We are also learning a lot on the daily basis, figuring out a ton of new stuff. We will be covering more stuff about the exciting work we’re doing here at Stark & Wayne.
Thanks for reading!

Spread the word